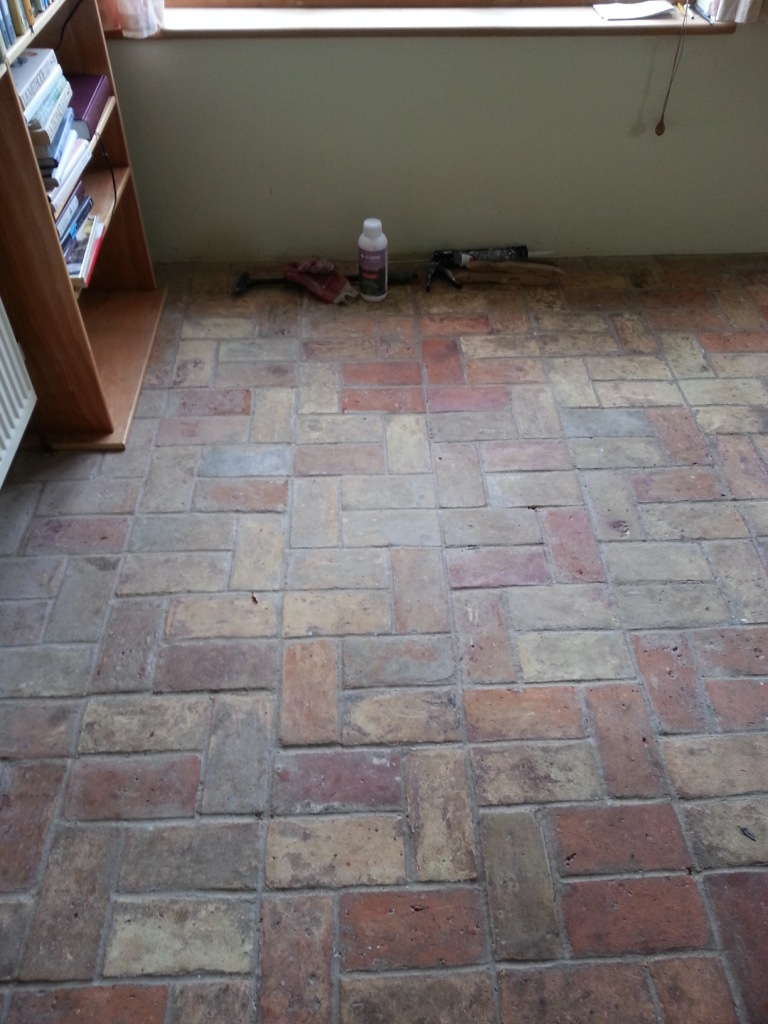
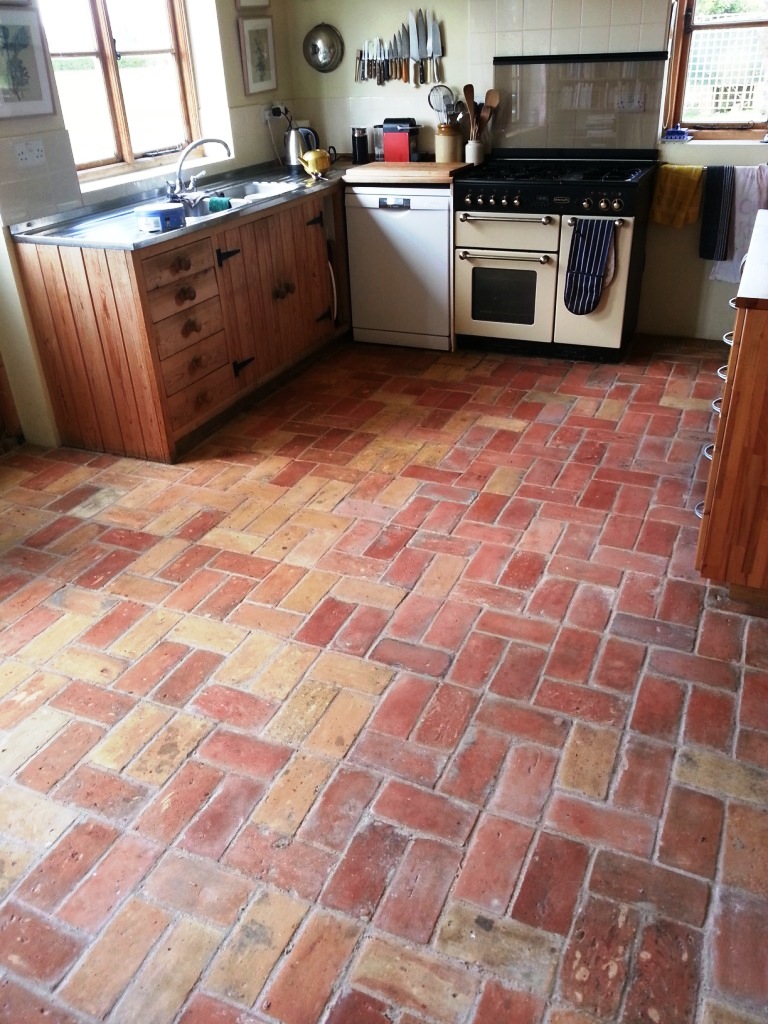
This brick floor, installed in the Kitchen of a property in in the town of Wrestlingworth was one of our toughest assignments so far; the floor was made from handmade Norfolk bricks which were laid approximately 20 years ago but had been subject to grease, general dirt and still had cement from the grouting present on top.

 |
 |
Cleaning a Handmade Brick Floor
My first instinct was to use Tile Doctor Pro Clean, a high alkaline product, to clean the bricks since it is highly versatile. It cleans most types of natural stone tile very effectively, and so I believed it would also work well on brick. I applied the product to the floor and left it to dwell for twenty minutes before scrubbing into the brick with a black scrubbing pad fitted to a low speed rotary machine.
As I anticipated this was successful in cleaning a large area of the floors, but a very greasy area by the range cooker and a lot of cement in thick patches remained. To resolve these problems I opted to cover the greasy area with Tile Doctor NanoTech HBU (Heavy Build-Up Remover) and left it for at least twenty minutes. This allowed the nano-sized cleaning particles to penetrate into the grease stains and dissolve them from within: something everyday cleaners can’t do. I then used another black scrubbing pad to fully remove the stains from the floor and the area thoroughly with clean water.
The improved the appearance of the floor a lot, but as a final step I went over the entire area using a steamer, along with more HBU Nanotech and handheld scrappers to manually remove stubborn marks and bits of paint. Dealing with the cement residue proved particularly difficult as some areas were an inch thick. To deal with these I used Tile Doctor Acid Gel – a blend of hydrochloric and phosphorus acids in gel form – to break them down as much as I could, before using scrappers to finally remove large clumps of cement.
Sealing a Handmade Brick a Floor
After rinsing and extracting excess moisture from the floor I left it to dry for 10 days. Upon my return some areas of the floor were still too wet to seal even with continuous drying equipment in place. The floor needed to be fully dry in order to sealed, since moisture can negatively affect the sealer’s performance, so I spent time drying those areas with a heat gun.
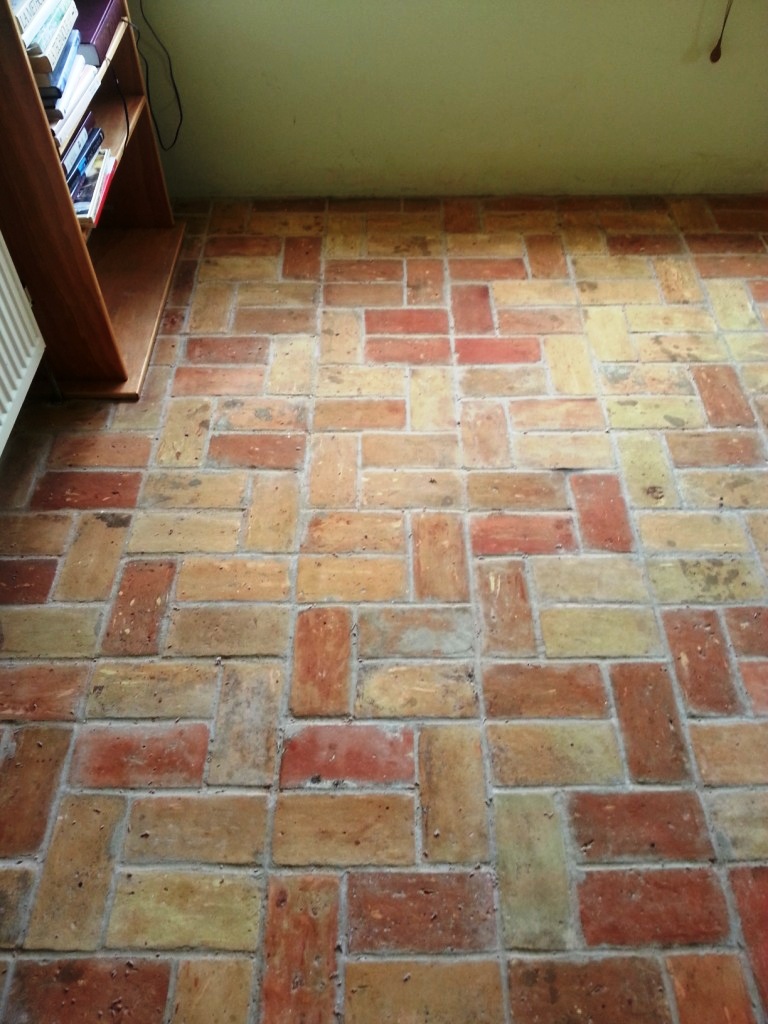
Once satisfied that the floor was dried I sealed it using Tile Doctor Colour Grow. This is an impregnating sealer that I would typically use on unsealed porous stone such as Sandstone and Limestone since it is designed to penetrate into the pores of the stone to act as a barrier against ingrained dirt and stains. I decided that Colour Grow was the best fit for the brick, especially since it contains colour intensifying properties that would really accentuate the natural reddish and orange shades.
 |
 |
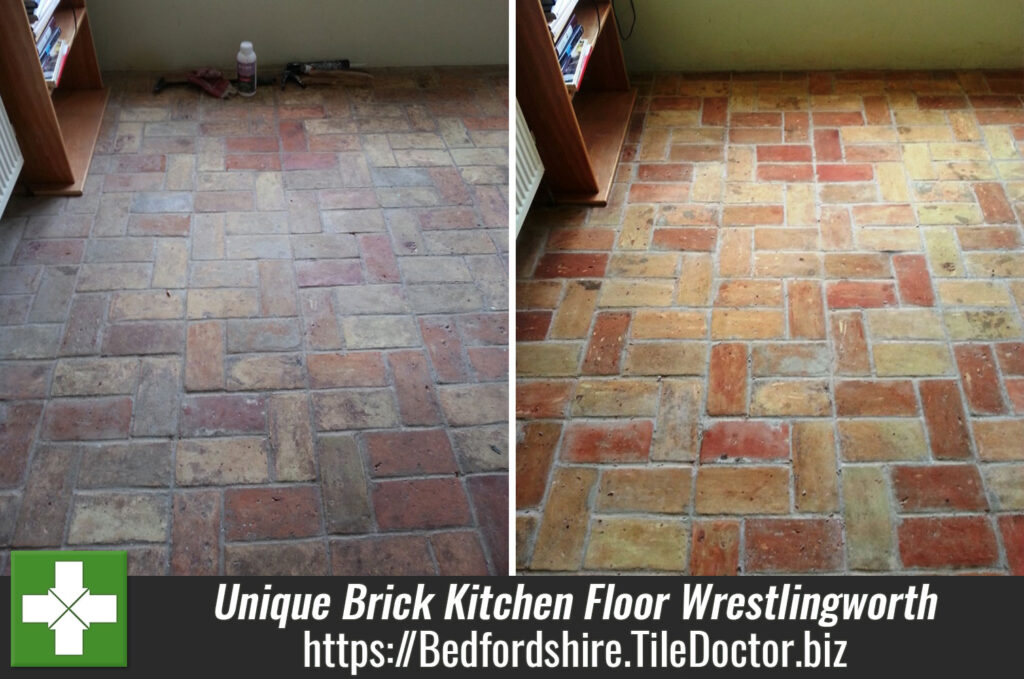
As you can see from the photographs this certainly did the trick, and the customer was very pleased with the new revitalised appearance of her floor. While brick wasn’t the easiest stone to work with – nor one that I normally encounter – I think you will agree we achieved an impressive transformation.


Great work and what a difference; you can always rely on Tile Doctor to sort out the problems no one else will touch, after all – We Love the Jobs Tilers Hate