Grout Cleaning

Welcome to my Work History archive where you will find detailed examples of the cleaning and renovation of Grout carried out in Bedfordshire

Cleaning and Renovating Grout

The top layer of grout is porous and can absorb grease, dirt and limescale. Spillages such as wine, lemonades or greasy substances will cause marks and patches in the joints in the floor. Grout between wall-tiles particularly in damp areas like bathrooms will become dirty and unattractive as a result of Mould, Mildew and Limescale.

Mould is one of the most unsightly problems, which usually starts off in the wettest area of the room, this could be the bottom of the shower or bath, then starts to spread and if left unchecked could cover a large area of the wall.

Another common issue we find is a problem known as Grout Haze or Grout Smearing where a thin layer of grout has been left to set on the surface of the tile. Once grout has set it is difficult to remove.

Discolouration of grout joints in bath or shower areas due to continued use of acid formulated shampoos and soaps. This causes yellow orange and pink stains to the grout over even a short period of time. Whilst Grout Joints can be cleaned, badly stained grout may need to be re-coloured.

Protecting your grout in advance with a sealer will prevent most of these issues and although relatively unknown in the UK, protection awareness is growing. Sealing forms an invisible barrier between the grout and the surface, this will then protect your investment for years to come.

We have solutions for all the problems listed above and below you will find detailed examples of work we have carried out in the past to resolve many of these issues. It should give you some idea of what’s involved and what can be achieved with the right techniques and products.


Quarry Tiled Floor Renovation Bedford

Old Quarry Tiled Kitchen Floor Restored at Grade II Listed Building in Bedford

The owner of this property in Bedford was convinced little could be done to restore the appearance of these Kitchen Quarry tiles at the best thing to do would be to cover them up, however as the building was Grade II listed thought it would be best to get a professional opinion first and I was asked to take a look.

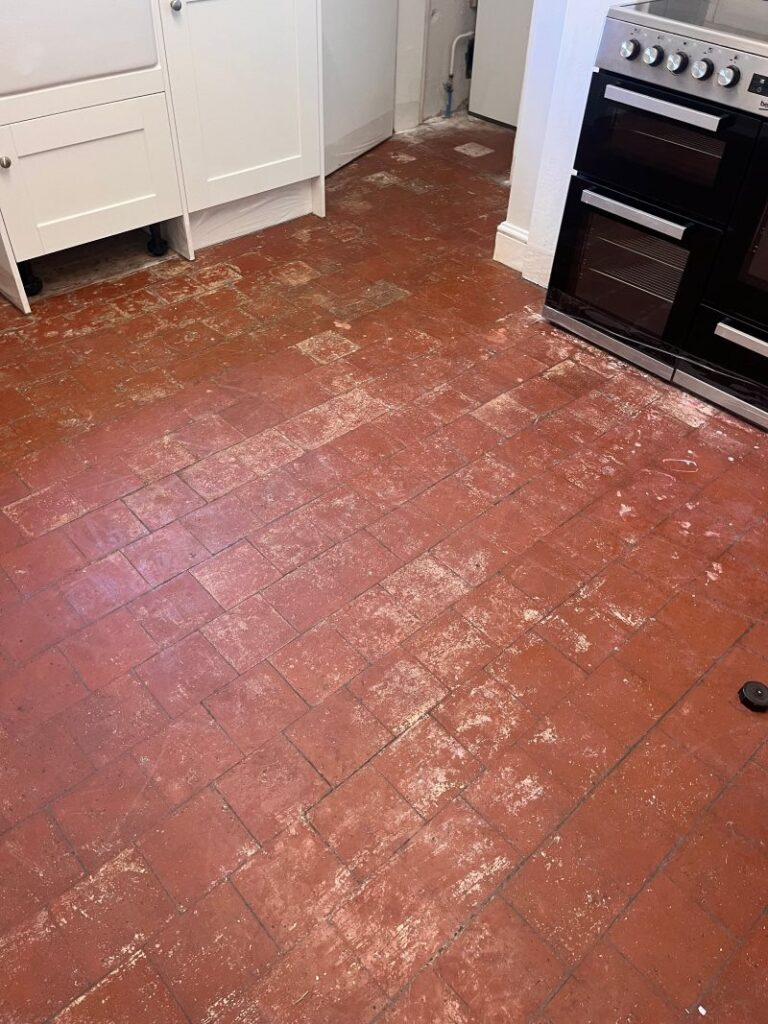
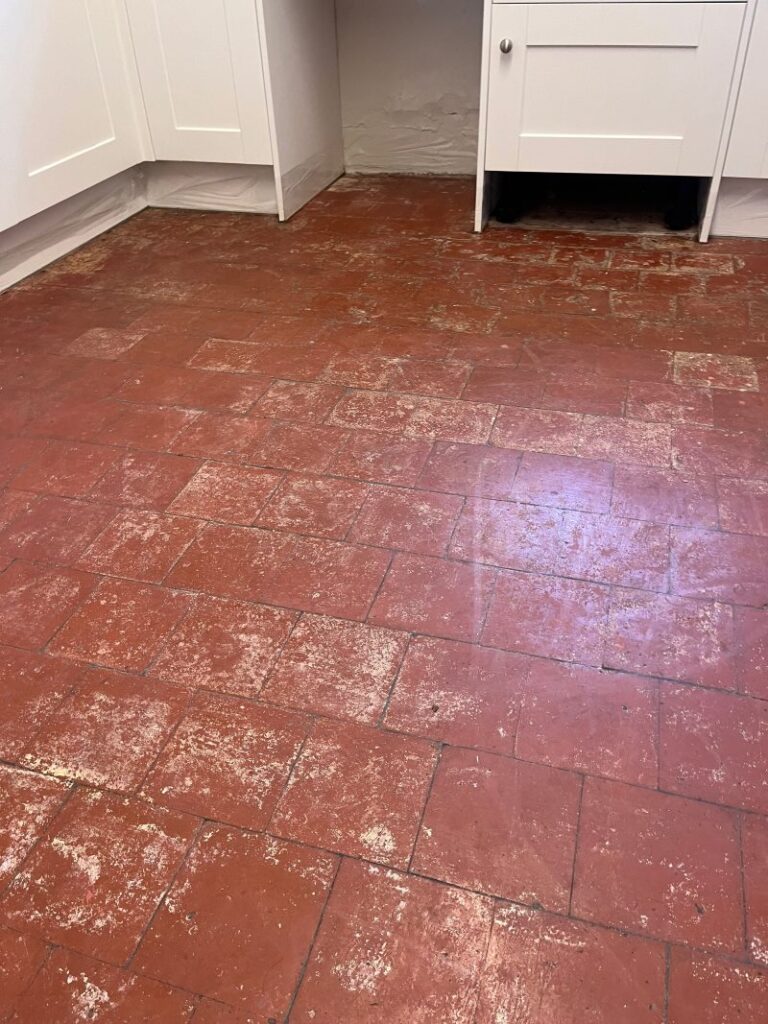
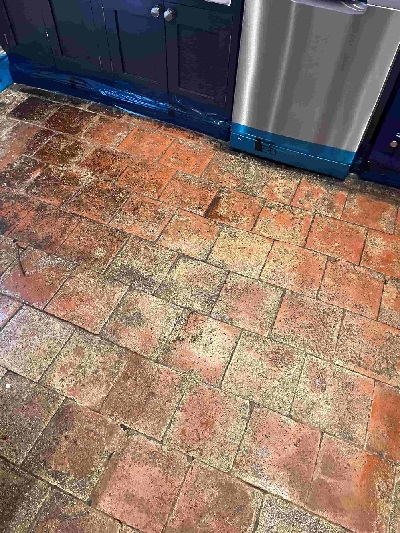
Quarry Tiled Kitchen Floor Bedford Before Cleaning

I went over to survey the floor and could see that over the years pits had developed in the surface of the tile which had trapped dirt resulting in black staining. In my analysis I thought we could certainly improve their appearance but hesitated at promising the world as even I had not seen a quarry tile this badly damaged. However the client was happy with the quotation and the request was `Do what you can!`

Quarry Tiled Kitchen Floor Bedford Before Cleaning

Cleaning Grubby 200-Year-Old Kitchen Quarry Tiles

I could see this floor was going to be a challenge so after protecting all the skirting boards, kitchen units and appliances I set about soaking the tiles in a strong cocktail of Tile Doctor Remove and Go with Nanotech HBU, HBU stands for Heavy Build-Up so quite appropriate I thought.

The next step was to run over the tiles with a set of burnishing pads of different grades which are encrusted with industrial diamonds. It took more than one attempt at this process but the abrasive pads had the desired effect and eventually revealed the beautiful quarry flooring below. The pads are effective on the tiles but the grout sits a little lower and so to reach these a stiff brush was scrubbed into the grout by hand where needed.

To remove the dirt that was released from the cleaning process and further clean the tiles I used an extraction tool that’s powered from a large compressor that sits in my van. This forces hot water under pressure onto the tiled floor whilst simultaneously extracting the dirty water back to a separate tank using a vacuum. It’s an amazing tool that is very effective however you do need to have the van parked close the house due to a limitation on the hose lengths.

With the tiles now clean and rinsed with water the floor was dried as much as possible with a wet vacuum and left to dry for a couple of days.

Sealing 200-Year-Old Kitchen Quarry Tiles

On my return I first tested the floor with a damp meter to ensure it was dry; all was well so I able to move onto applying a sealer that would further enhance the appearance of the Quarry tiles and add protection.

Given the age of this floor I decided to use a modern fully breathable product and selected Tile Doctor X-Tra Seal which work by occupying the pores of the tile, improving colour, and preventing dirt from becoming ingrained there.

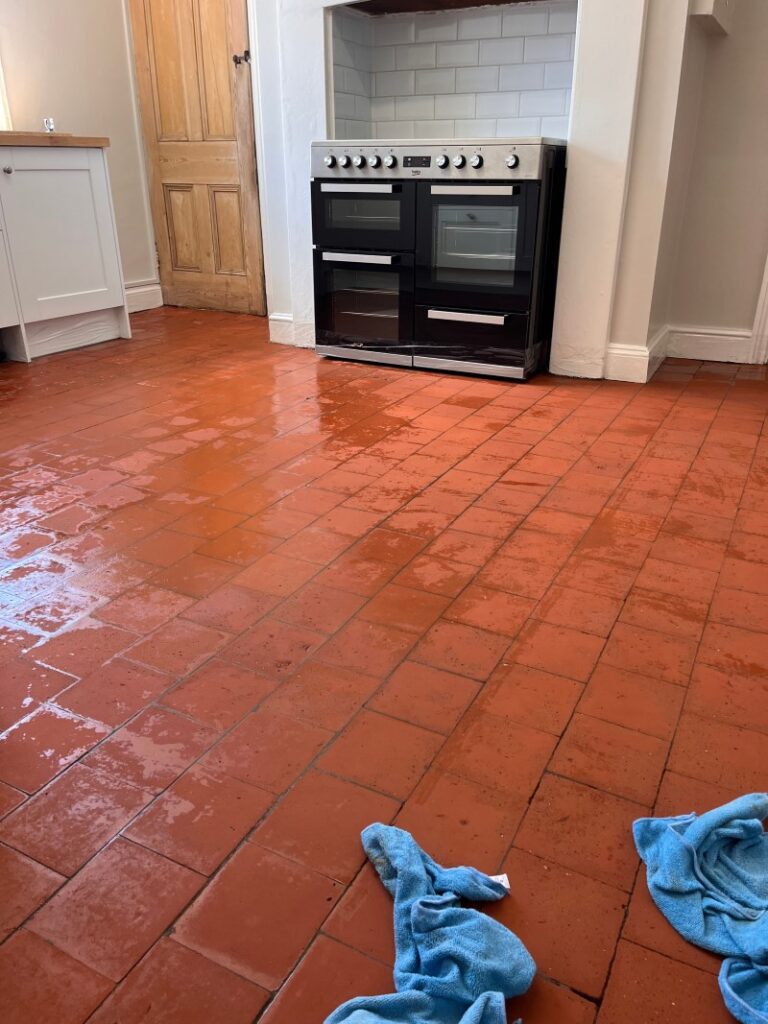
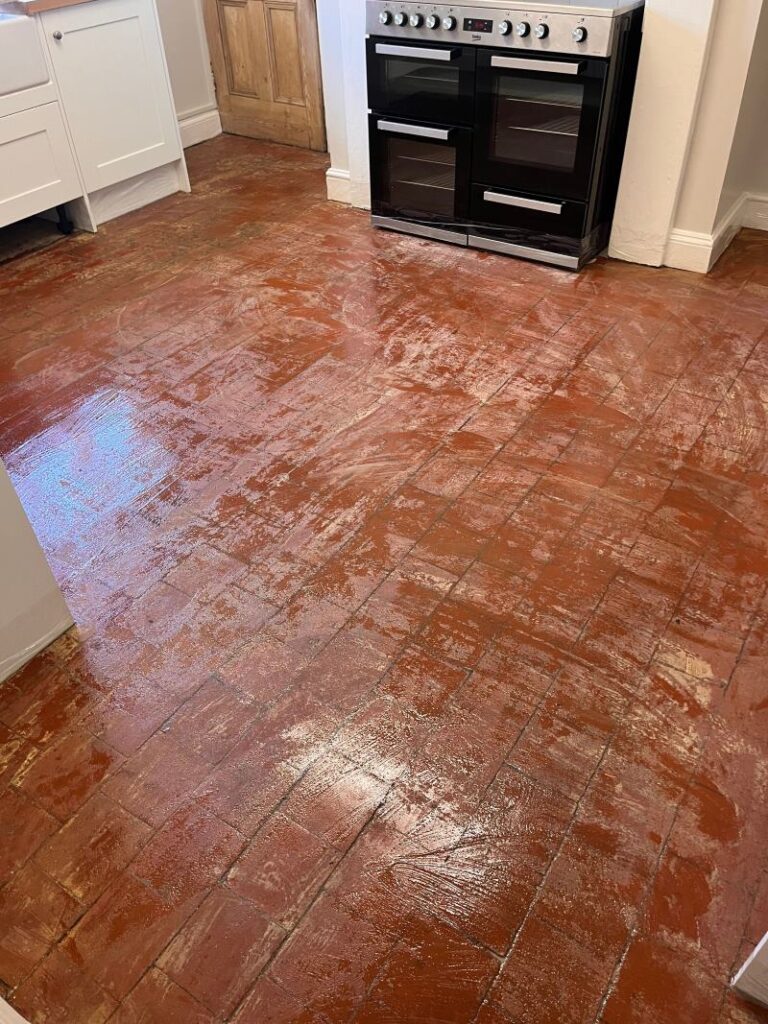
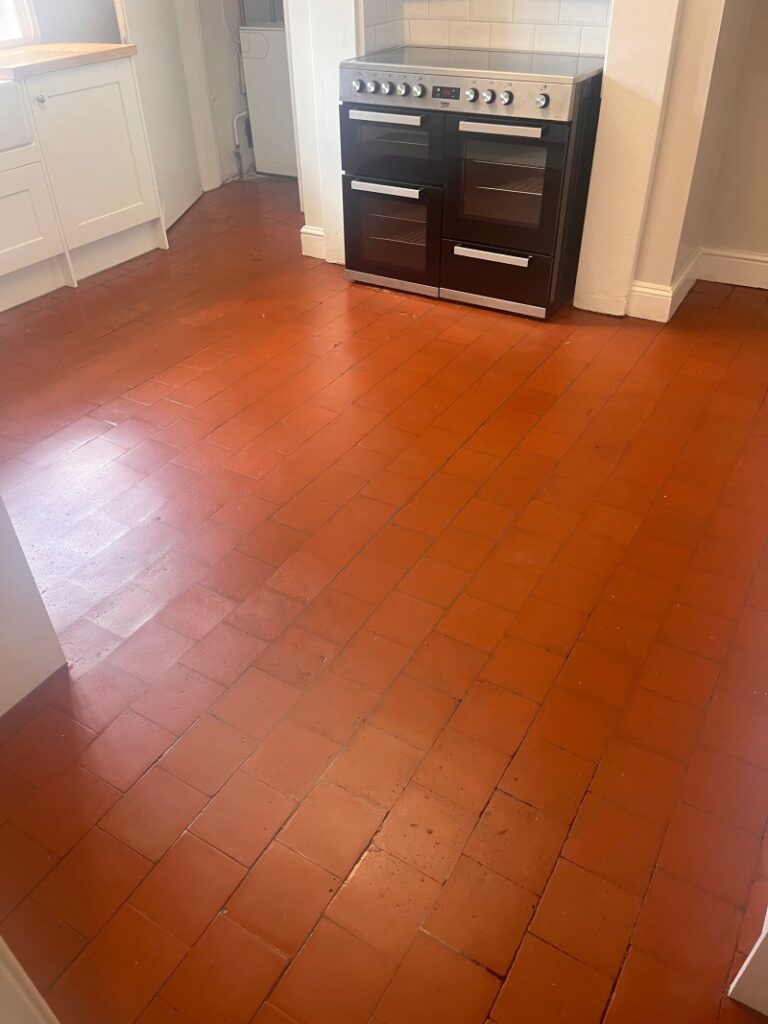
Quarry Tiled Kitchen Floor Bedford After Renovation

The client was in fact over the moon with the results and given the floor was 200 years old I even impressed myself. For me, even after having done this work for over 30 years it still provided a sense of achievement, a perfect combination of experience coupled with modern chemicals, machinery and working methods.

Quarry Tiled Kitchen Floor Bedford After Renovation


Professional Restoration of an Old Quarry Tiled Floor in Bedfordshire

Old Quarry Tiled Kitchen Floor Restored at Grade II Listed Building in Bedford Read More »

Black Limestone Floor Wixams Before After Sealing

Dealing with Grout Haze on a New Black Limestone Floor in Wixams

Believe it or not the pictures below show a brand-new installation of black Limestone tiles in the kitchen and dining room of a house in Wixams which is a new town right in the centre of Bedfordshire.

Black limestone floor Wixams before cleaning
The tiles looked terrible and on closer inspection I could see that they were heavily covered with grout haze. The customer thinks the tiler was in a hurry to get the job finished, unfortunately if not washed off immediately and allowed to dry before sealing grout haze can become a real problem.

Black limestone floor Wixams before cleaning
To make matters worse the tiler had sealed over the top of the grout haze hoping to hide his mistake which simply made the problem worse. The property was a new build so the client called in the site foreman to rectify the issue and he was advised to get someone out to assess whether anything could be done.

I inspected the floor and after carrying out a test clean on one tile which the customer was happy with the results and the work was booked in for a couple of weeks’ time

Deep Cleaning Limestone Floor Tiles

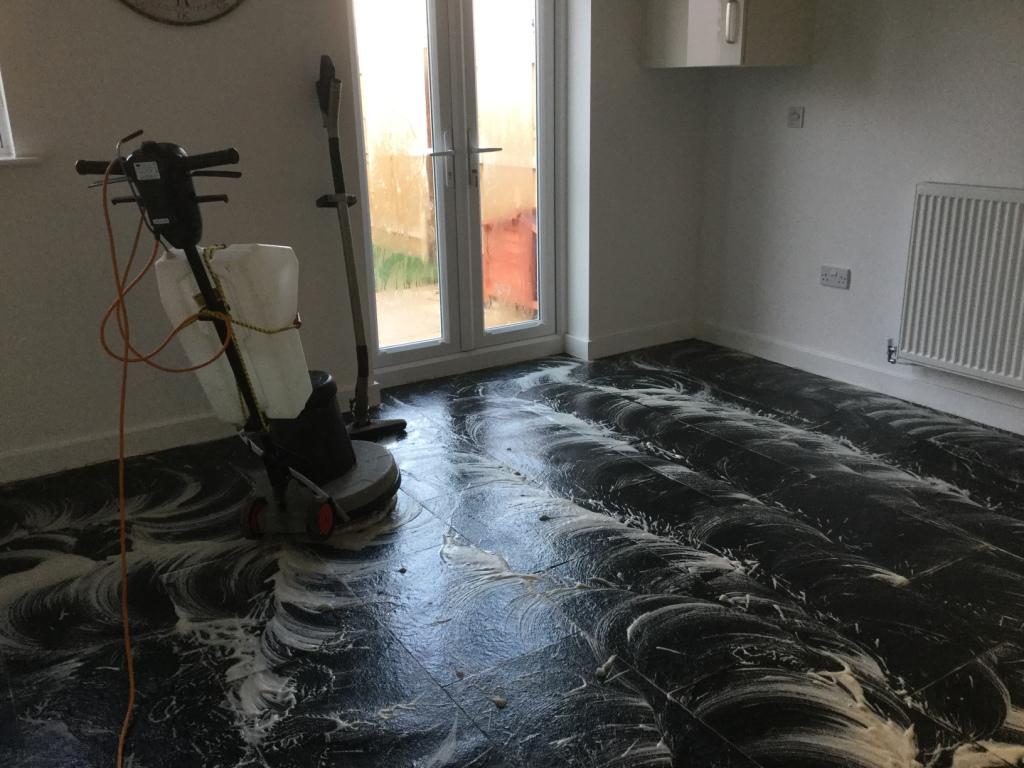
When I returned on site I masked up the kitchen units to protect them and then sprayed on a solution of Tile Doctor Pro-Clean to break down the sealant before washing and rinsing aided by a rotary machine fitted with a scrubbing pad and a wet vacuum to extract the soiled solution.

Black limestone floor Wixams during cleaning
Once the sealant was removed I was able to tackle the grout haze by applying Tile Doctor Grout Clean up diluted at a ratio of 3:1, I needed a strong solution as the grout smears were quite significant. The solution was allowed to dwell for a few minutes before agitating and adding more water before rinsing. I worked in areas of 3 square metres at a time so as not to leave the product on the floor too long until the whole floor had been treated. After I was happy all the grout haze had been removed the floor was given a final rinse and as much moisture removed from the floor as possible with the wet vacuum.

Sealing Limestone Floor Tiles

I allowed the tiles to dry off overnight before returning the next day to finish the floor starting with the application of a single coat of Tile Doctor Stone Oil to restore the natural black colour into the stone:

Black limestone floor Wixams applying stone oil
One this had dried I proceeded to seal the floor with two coats of Tile Doctor Colour Grow sealant, each coat was polished in by hand leaving an hour for drying between coats, I then waited another hour before giving the whole floor a final polish with a buffing machine to remove any excess sealant.

Black limestone floor Wixams after sealing
The result was quite a transformation and the customer was very happy, I also provided advice on how to clean the floor in the future using Tile Doctor Neutral Cleaner which is a PH neutral cleaner designed for use on sealed stone.

Limestone Floor Deep Cleaned and Sealed in Bedford

Dealing with Grout Haze on a New Black Limestone Floor in Wixams Read More »

Removing Grout Haze from Quarry Tiles Dunstable

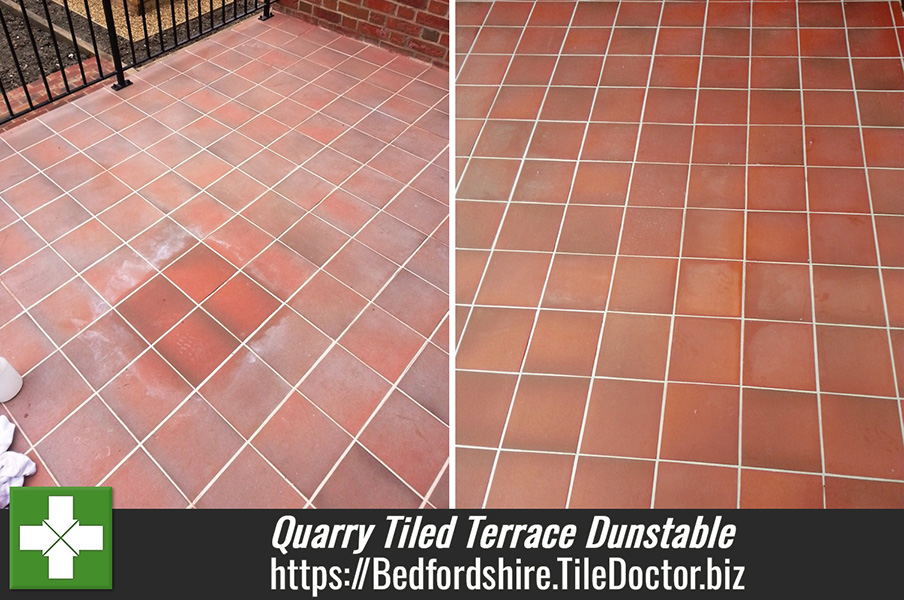
Newly Laid Quarry Tiled Terrace Treated for Grout Haze in Dunstable

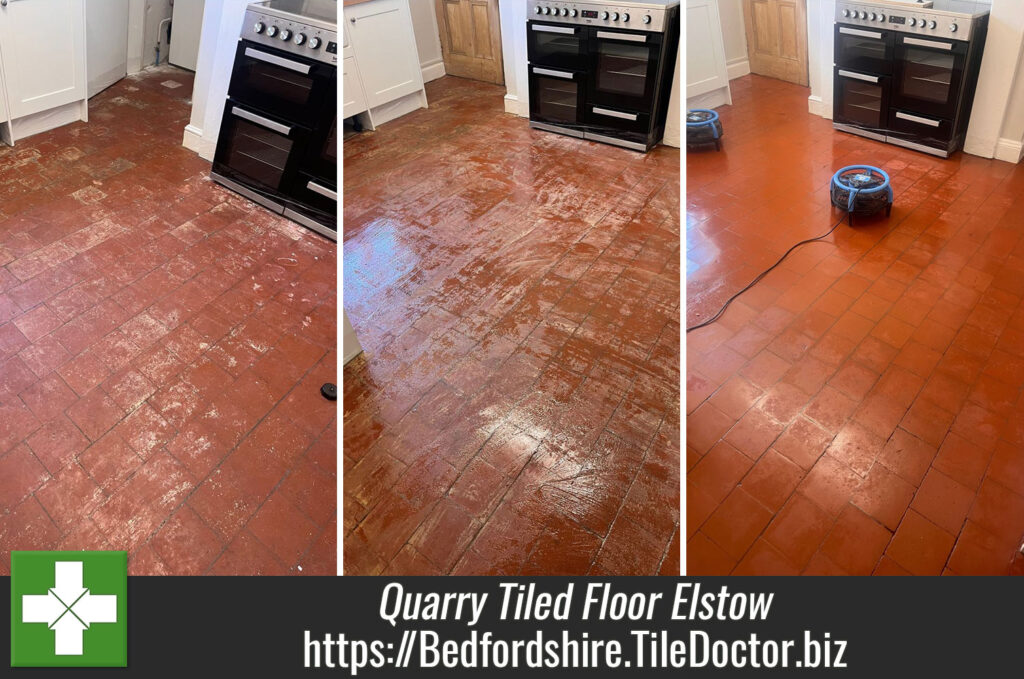
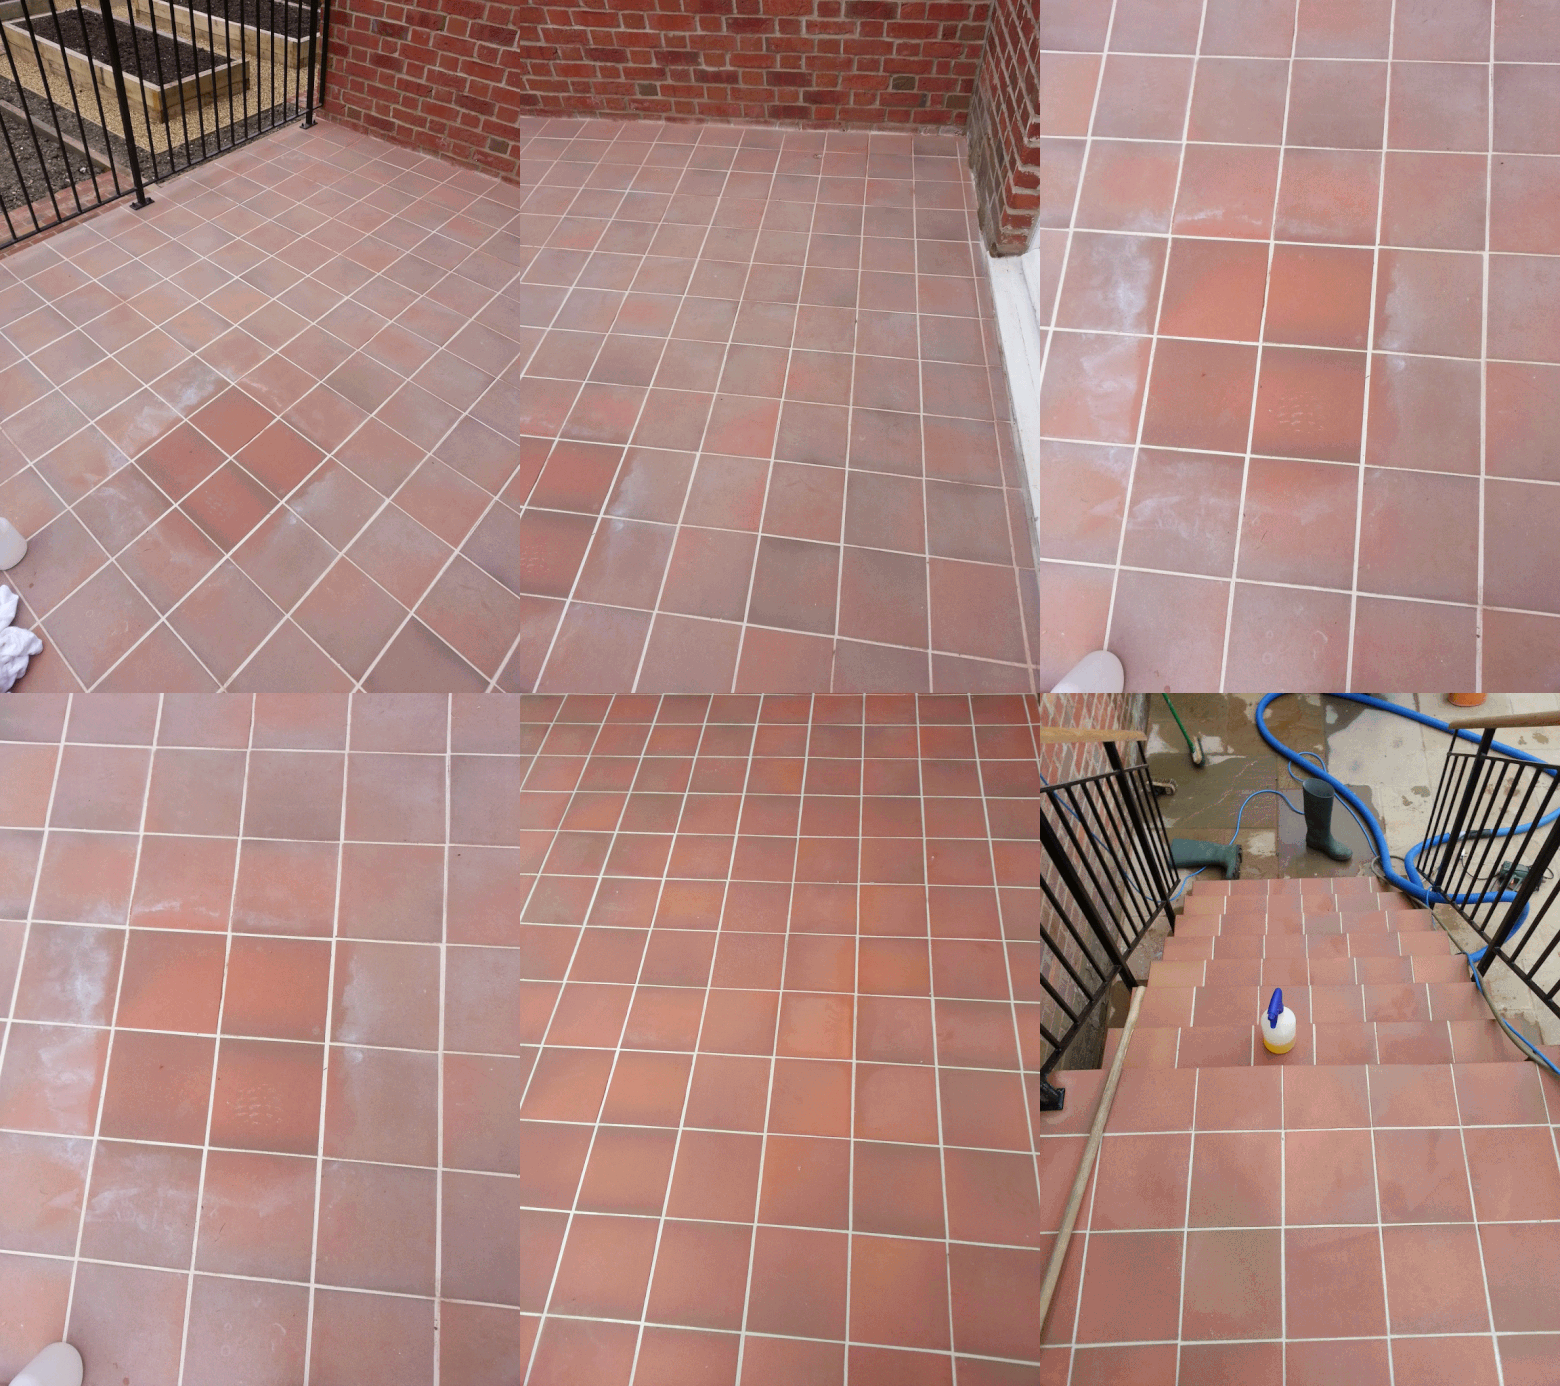
This customer had a fantastic rough heather set Quarry tiled terrace laid on the exterior of their property in Dunstable. While from a distance the tiles appeared to be in quite good condition, there was one very obvious problem. The customer, following the advice of the retailer – but against best practice and the advice of the installers – opted to use a polymer-based white grout. To worsen the problem, the tiles were also not sealed before grouting, resulting in a blotchy white appearance once dried.

Removing Grout Haze from Quarry Tiles Dunstable
This was a big problem, and needless to say the customer was eager to set the situation right. The customer contacted me and I travelled to the property to see what could be done. Although it was virtually impossible to remove the problem entirely, I was able to eliminate most of it and significantly improve the condition of the tiles. Here’s how I did it:

Removing Grout Haze from Quarry Tiles Dunstable

Cleaning Badly Stained Quarry Tiles

Removing the blotchy white stains required the use of a number of different cleaning products, combined with lots of rinsing with clean water.

My initial attempts involved firstly the application of Tile Doctor Remove and Go, before scrubbing it into the tiles. Remove and Go is a multi-purpose product that is often used to break down old sealers, adhesives and synthetic finishes, however, in this case it served to draw out the ingrained white stains.

I followed this up with an application of Tile Doctor Acid Gel, which is a blend of Phosphoric and Hydrochloric acids in gel form used to treat grout smears and efflorescence. It is not recommended for use on acid sensitive stone such as Limestone and Marble as it can cause etching, but here it helped make some good progress with cleaning the Quarry tiles.

Removing Grout Haze from Quarry Tiles Dunstable
Even after a long period of cleaning, some of the particularly ingrained polymer refused to budge. My best option was to use Tile Doctor NanoTech HBU, which utilises nano-sized cleaning particles to penetrate deep into the stone to eliminate stubborn marks. The product was brushed into the Quarry tiles in combination with a steamer, achieving some good results. We then brought in a spinning tool fitted to our truck-mounted cleaning machine to thoroughly rinse the tiles, leaving them much improved.

Removing Grout Haze from Quarry Tiles Dunstable
We used air movers to dry the terrace off quickly in order to see the final
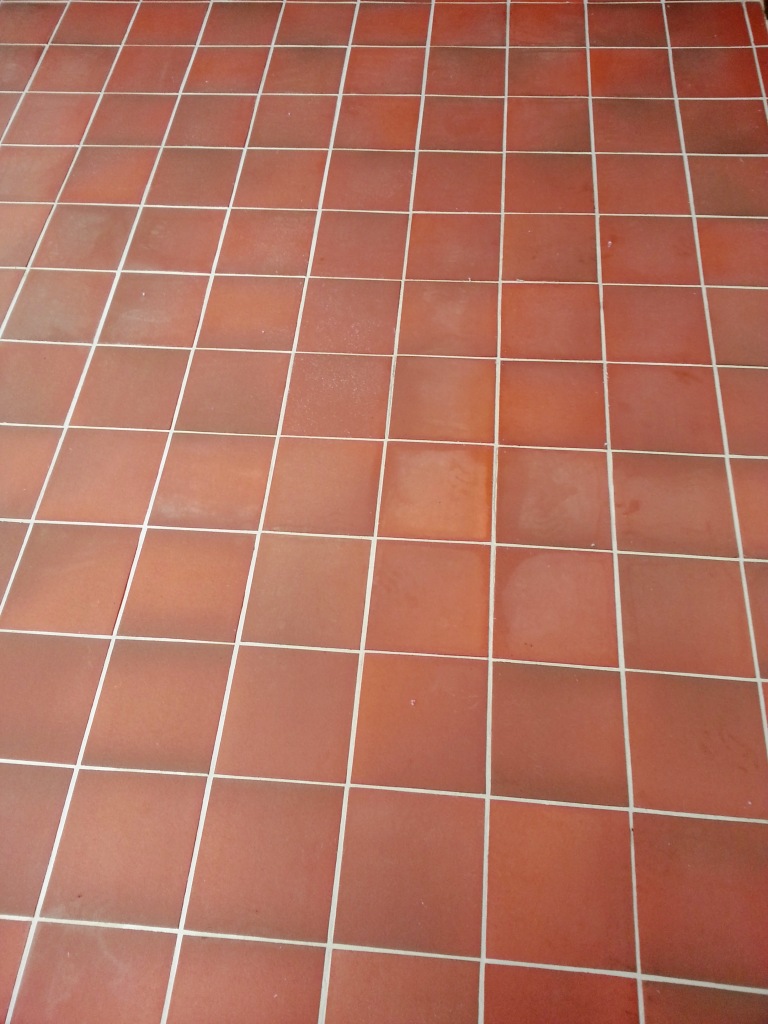
result, which the customer was very pleased with, especially considering the extent of the staining. We then advised the client to wait until June or July to give the terrace another clean, along with a fresh seal using Tile Doctor Colour Grow, a colour enhancing, impregnating sealer which will improve the appearance even further.

Dealing with Grout Haze on a Quarry Tiled Terrace in Bedfordshire

Newly Laid Quarry Tiled Terrace Treated for Grout Haze in Dunstable Read More »

=================================

Bedfordshire Tile Doctor

================================= Read More »

Scroll to Top