Sandy Tile Cleaning

Sandy Tile Cleaning

Welcome to my Work History archive where you will find examples of the cleaning and renovation of tiles carried out in Sandy.

New Flagstone Floor with Grout and Adhesive Staining Restored in Moggerhanger

New Flagstone Floor with Grout and Adhesive Staining Restored in Moggerhanger

Property renovation can be a busy and chaotic process, especially when some of the work falls short of your expectations. This customer, who lives in the tiny Bedfordshire village of Moggerhanger (pronounced locally as ‘Morhanger’), called me in as he was not happy with the appearance of a newly laid Flagstone tiled floor in the kitchen, dining room and downstairs WC. There was extensive renovation work taking place at the property and the customer had been let down by his tiler, as a result he agreed to allow his builder to lay the Flagstone tiles.

Unfortunately, the installation was not completed properly and the grout haze quickly emerged. What’s more, there was a significant quantity of adhesive staining on the surface of tiles, left over from the decorating which had not been removed. The customer needed help to get the floor looking the way it should and we were more than happy to help.

Cleaning and Sealing a Flagstone Tiled Toilet Floor

The photo below shows the extent of the grout haze present in the WC area. I was able to remove this successfully by using Tile Doctor Grout Clean Up which is a concentrated phosphoric acid cleaner designed to penetrate below the surface to remove grout haze, mineral deposits, rust stains and efflorescence.

Flagstone WC Floor Installation Before Cleaning Moggerhanger
This product was scrubbed into the grout using a rotary machine fitted with scrubbing brushes. The soiled cleaning residue was then removed using a wet-vac machine. Any stubborn areas of grout haze were given a second treatment, followed by a washing and rinsing.

The next photo shows this area after an application of Tile Doctor Stone Oil which soaks into the stone to enhance the natural colours and texture. I allowed the area to dry for 24 hours before sealing with Tile Doctor Seal & Go which adds a nice sheen to the tile as well as further protection.

Flagstone WC Floor Installation After Cleaning Moggerhanger

Cleaning and Sealing a Flagstone Tiled Kitchen Floor

The next pair of photos show the staining of the kitchen tiles including a close-up shot.

Flagstone Kitchen Floor Installation Before Cleaning Moggerhanger Flagstone Kitchen Floor Installation Before Cleaning Moggerhanger Close-Up

I was able to remove the staining using a stiff rotary brush in combination with our reliable alkaline cleaner Tile Doctor Pro Clean, which was followed by an application of Grout Clean-Up to remove any particularly stubborn deposits. The floor was allowed to dry for twenty-four hours before being sealed in a similar way to the bathroom using three coats of Stone Oil and three coats of Tile Doctor Seal & Go. The final photos show the finished floor.

Flagstone Kitchen Floor Installation After Cleaning Moggerhanger Flagstone Kitchen Floor Installation After Cleaning Moggerhanger

Finally, I was asked by the customer if I would help the builder out by assisting with grouting the entire kitchen due to time restraints and because the customer wanted to get the room back into use as soon as possible.

Together we finished grouting the entire area correctly, made much easier by the fact that I had already sealed the floor. New grout was left to dry for a further 24 hours, before I returned to give the floor a light clean and two further coats of Tile Doctor Seal & Go to ensure the new grout was sealed and adequately protected.

The customer left the following feedback stating how pleased he was with the overall service:

“Philip did a fantastic job getting extensive amounts of adhesive and grout off of our newly laid flagstones. He also re oiled, sealed, helped with grouting and a final clean/seal so when he left the flagstones were completely finished. Prompt service and stayed late to get the job done as soon as possible so we could put our house back together. Would highly recommend.”

Flagstone Floor Installation Issues Resolved in Bedfordshire

New Flagstone Floor with Grout and Adhesive Staining Restored in Moggerhanger Read More »

Unique Brick Kitchen Floor Restored in Wrestlingworth

Unique Brick Kitchen Floor Restored in Wrestlingworth

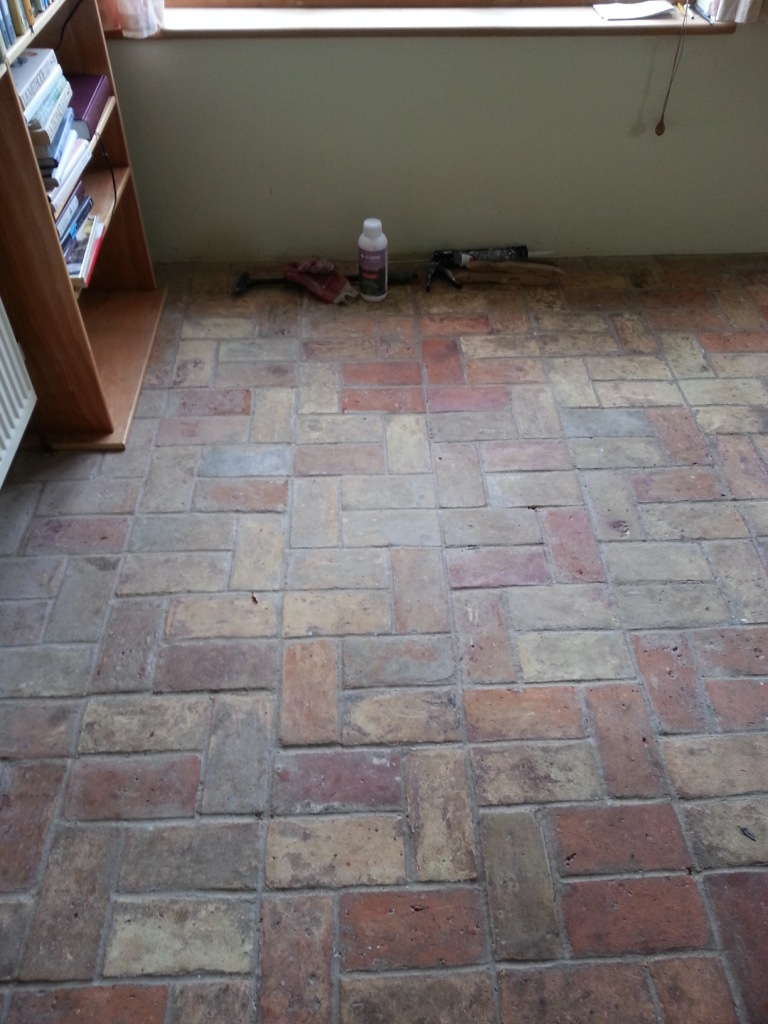
This brick floor, installed in the Kitchen of a property in in the town of Wrestlingworth was one of our toughest assignments so far; the floor was made from handmade Norfolk bricks which were laid approximately 20 years ago but had been subject to grease, general dirt and still had cement from the grouting present on top.

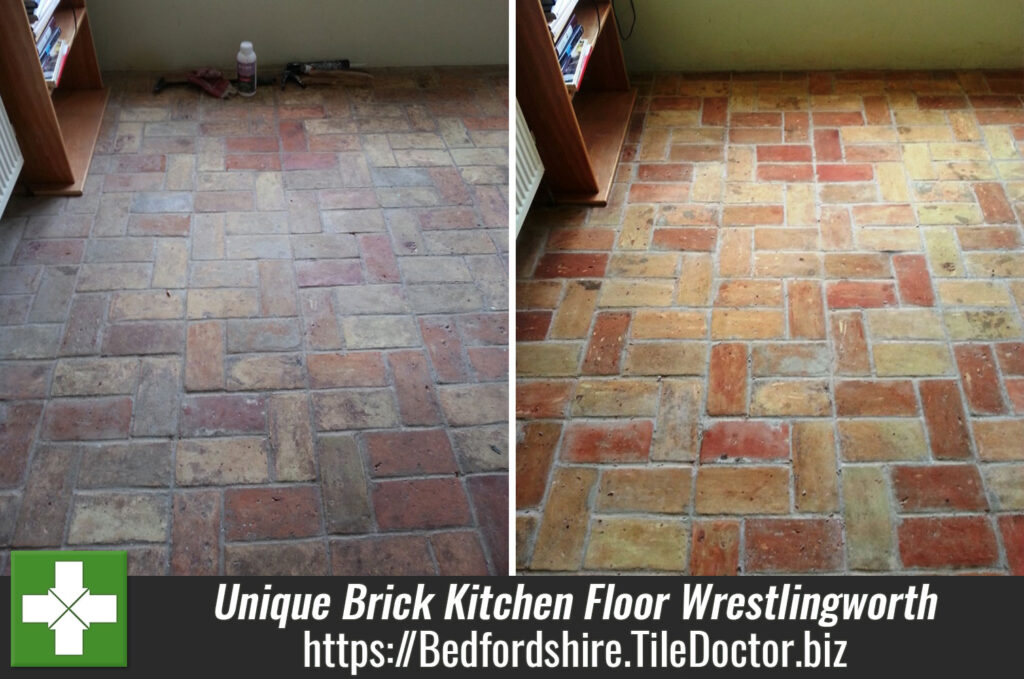
20 Year old hand made brick floor Before Cleaning in Wrestlingworth
Although this wasn’t your typical tiled floor I knew we could achieve some fantastic results with the brick by using the right products and techniques.

20 Year old hand made brick floor Before Cleaning in Wrestlingworth 20 Year old hand made brick floor Before Cleaning in Wrestlingworth

Cleaning a Handmade Brick Floor

My first instinct was to use Tile Doctor Pro Clean, a high alkaline product, to clean the bricks since it is highly versatile. It cleans most types of natural stone tile very effectively, and so I believed it would also work well on brick. I applied the product to the floor and left it to dwell for twenty minutes before scrubbing into the brick with a black scrubbing pad fitted to a low speed rotary machine.

As I anticipated this was successful in cleaning a large area of the floors, but a very greasy area by the range cooker and a lot of cement in thick patches remained. To resolve these problems I opted to cover the greasy area with Tile Doctor NanoTech HBU (Heavy Build-Up Remover) and left it for at least twenty minutes. This allowed the nano-sized cleaning particles to penetrate into the grease stains and dissolve them from within: something everyday cleaners can’t do. I then used another black scrubbing pad to fully remove the stains from the floor and the area thoroughly with clean water.

The improved the appearance of the floor a lot, but as a final step I went over the entire area using a steamer, along with more HBU Nanotech and handheld scrappers to manually remove stubborn marks and bits of paint. Dealing with the cement residue proved particularly difficult as some areas were an inch thick. To deal with these I used Tile Doctor Acid Gel – a blend of hydrochloric and phosphorus acids in gel form – to break them down as much as I could, before using scrappers to finally remove large clumps of cement.

Sealing a Handmade Brick a Floor

After rinsing and extracting excess moisture from the floor I left it to dry for 10 days. Upon my return some areas of the floor were still too wet to seal even with continuous drying equipment in place. The floor needed to be fully dry in order to sealed, since moisture can negatively affect the sealer’s performance, so I spent time drying those areas with a heat gun.

Once satisfied that the floor was dried I sealed it using Tile Doctor Colour Grow. This is an impregnating sealer that I would typically use on unsealed porous stone such as Sandstone and Limestone since it is designed to penetrate into the pores of the stone to act as a barrier against ingrained dirt and stains. I decided that Colour Grow was the best fit for the brick, especially since it contains colour intensifying properties that would really accentuate the natural reddish and orange shades.

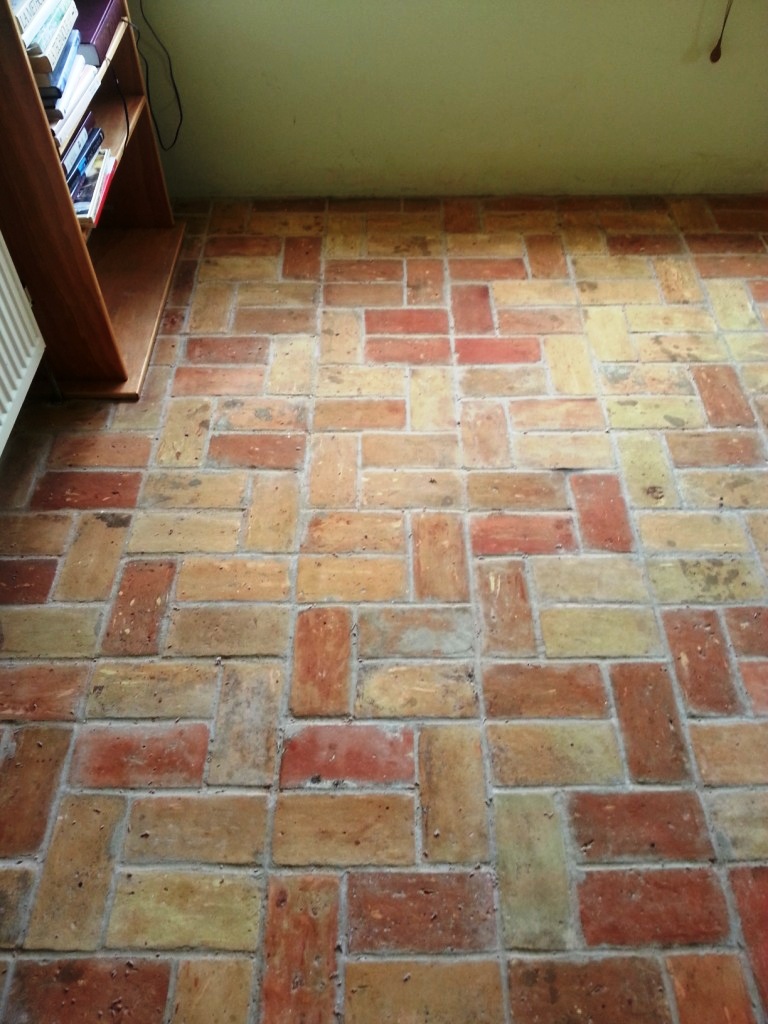
20 Year old hand made brick floor After Cleaning in Wrestlingworth 20 Year old hand made brick floor After Cleaning in Wrestlingworth

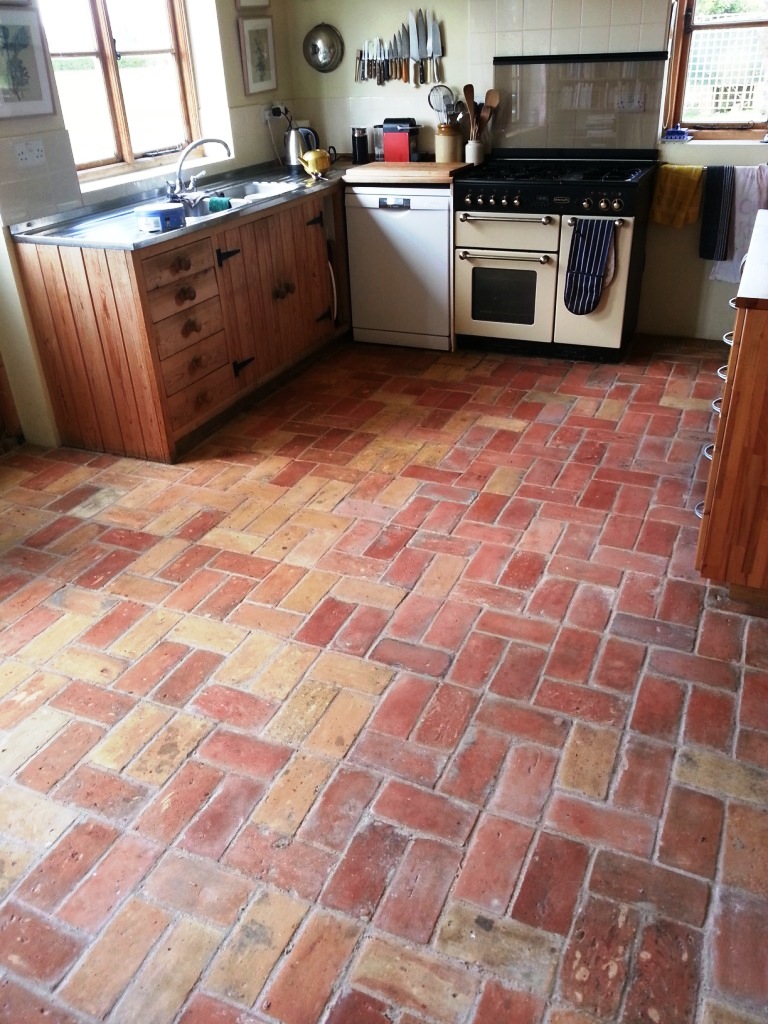
As you can see from the photographs this certainly did the trick, and the customer was very pleased with the new revitalised appearance of her floor. While brick wasn’t the easiest stone to work with – nor one that I normally encounter – I think you will agree we achieved an impressive transformation.

Professional Brick Floor Restoration in Bedfordshire

Unique Brick Kitchen Floor Restored in Wrestlingworth Read More »

Mosaic Pool Tiles Cleaned near Sandy Bedford

Mosaic Swimming Pool Tile Surround Cleaned near Sandy

As well as bathrooms and kitchens we also cover swimming pools which usually have a tiled pool surround and this was certainly the case with the photograph below which was taken at a property near the small market town of Sandy in Bedfordshire where the tile and grout around the pool had discoloured over time.

Cleaning Mosaic Pool Tiles

To clean the tiles we used a strong dilution of Tile Doctor Pro-Clean which left to soak into the tile and grout in sections before being scrubbed in using a stiff brush. You have to be careful with machinery around swimming poos as you don’t want any cleaning products draining into the swimming pool water.

Mosaic Pool Tiles Cleaned near Sandy Bedford
The pro-clean and scrubbing action loosened the dirt and we were then able to use a Rotovac machine to finish the floor off and get the results you see above. The Rotovac which is also known as a Spinner tool is a really useful piece of equipment for a Tile Cleaner as it directs a jet of high pressure hot water onto the tile whilst simultaneously removing the water through a separate suction feature. The tool needs a lot of power so it runs from a high-pressure cleaning and extractor unit fitted into our van which can delivery water pressure between 500 and 3000 PSI. Another feature of the tool is the side skirts around the spinner head which along with the high suction prevent water from being splashed around making it ideal for this job.

Removing Mould and Mildew from Mosaic Shower Tiles in Bedford

Mosaic Swimming Pool Tile Surround Cleaned near Sandy Read More »

=================================

Bedfordshire Tile Doctor

================================= Read More »

Scroll to Top